
个人博客Hexo+Butterfly+Gitee流水线+快捷指令提交
前强烈建议学习一下MarkDown语法,方便书写笔记,当然不学也不影响本教程的使用,GItee Page需要实名认证.如果介意的朋友可以使用github.
博主在使用了一年时间后,感觉不是很方便.gitee流水线经常会卡在第一步命令,似乎在等待什么,同样的命令和代码,在不同时间有时需要8分钟,有时只要50秒.
如果在网络环境好的话还是推荐使用github action.
最终效果:HiAsia的小站
1.安装Hexo框架
可配合Hexo官方教程一起使用Hexo
- 安装Hexo,确保已安装node.js此时blog的目录结构如下图
1
2
3
npm install -g hexo-cli
hexo init blog
cd blog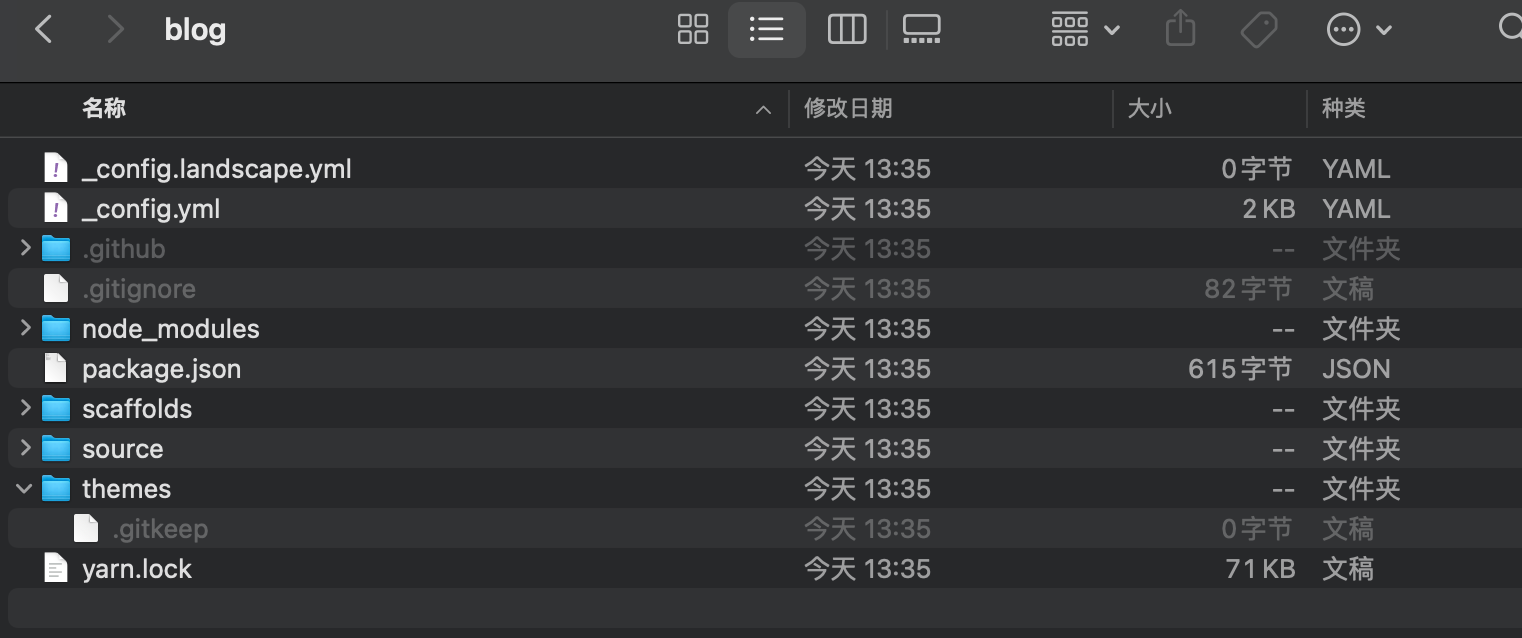
2.使用Butterfly主题
详细配置可参考作者的BlogButterfly.与源码仓库jerryc127/hexo-theme-butterfly
下载源码仓库中的,主题,下载地址butterfly4.9,github地址可能访问较慢
将压缩包解压后放入themes文件夹下,并重命名为butterfly

复制butterfly下的_config.yml文件改名为_config.butterfly.yml,并复制到blog目录下.删除_config.landscape.yml,此时目录结构如下

修改_config.yml中的配置,主题为butterfly
1
theme: butterfly
安装插件
npm install hexo-renderer-pug hexo-renderer-stylus –save
运行hexo s,访问地址,可看到如下界面,即搭建完成

3.初始化仓库
需要创建两个仓库.
一个存放自己的代码与笔记+Gitee流水线流程,下文中称为笔记仓库
一个存放hexo构建出的静态页面,下午中称为源码仓库
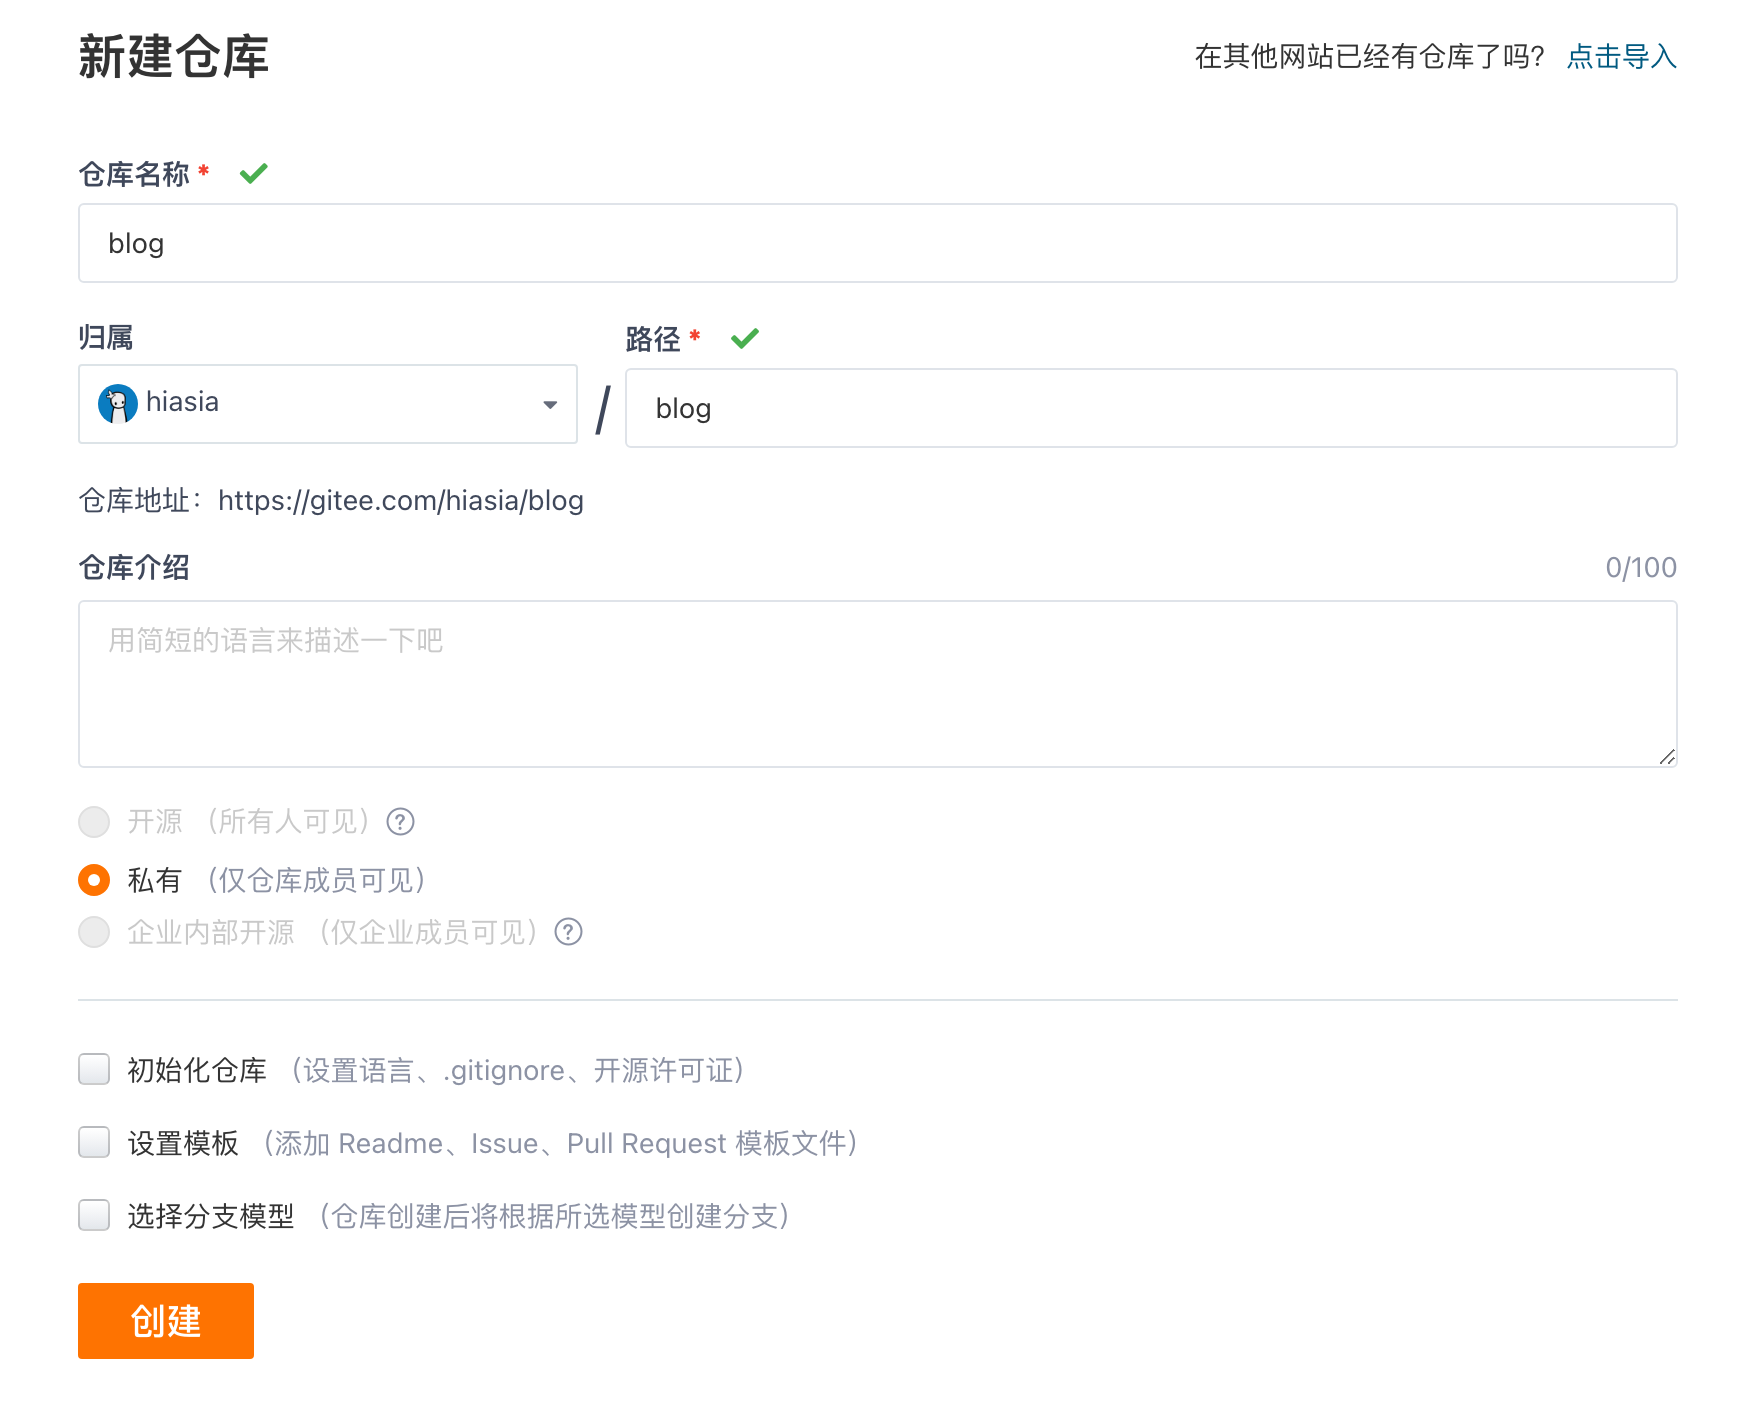
3.1创建第一个笔记代码仓库
- 来到gitee首页,登录账号后,点击新建仓库

- 起个名字直接创建,可以选择私有
3.2创建第二个静态页面仓库
参考上述步骤,创建第二个仓库,仓库名为,你的用户名
4.使用Gitee Pages仓库
4.1 将代码提交
- 书写.gitignore文件忽略不需要提交的文件,提供我编辑的文件供大家参考,每个人的目录可能不同,请清楚用途后,适量修改
1
2
3
4
5
6
7
8
9
10
11
12
13
14
15
16
17
18
19
20
21
22
23
24
25
node_modules
/dist
/public
.temp
.cache
dist
source/_posts/template
.github
.idea
.obsidian
.vscode
.deploy_git
*.suo
*.ntvs*
*.njsproj
*.sln
*.sw?
*.DS_Store
node_modules/
package-lock.json
yarn.lock
db.json - 初始化本地仓库,确保你此时已在blog文件夹中
1
2
3
4
5
6
7
git init
git checkout -b master
git add .
git commit -m "first commit"
git remote add origin <仓库地址>
将刚刚的生成的代码提交到远程笔记仓库
git push -u origin "master" - 开启gitee流水线

- 修改master-pipeline.yml,以下是我的yml,供参考
1
2
3
4
5
6
7
8
9
10
11
12
13
14
15
16
17
18
19
20
21
22
23
24
25
26
27
28
29
30
31
32
33
34
35
36
37
38
39
40
41
42
43
44
45
46
47
version: '1.0'
name: pipeline-blog
displayName: pipeline-blog
triggers:
trigger: auto
push:
branches:
prefix:
- ''
stages:
- name: stage-02db41c3
displayName: 未命名
strategy: naturally
trigger: auto
executor: []
steps:
- step: build@nodejs
name: build_nodejs
displayName: Nodejs 构建
nodeVersion: 15.12.0
commands:
- '# 设置NPM源,提升安装速度'
- npm config set registry https://registry.npmmirror.com
- npm install -g hexo-cli
- ''
- '# 执行编译命令'
- npm install && hexo generate
- echo 'Hello Gitee!'
- '# 更新代码到Gitee Pages'
- ls
- cd ./public
- git init
- git add -A
- git commit -m "message"
- git remote add origin https://用户名:密码@gitee.com/源码仓库地址
- '# 例如 https://hiasia:密码@gitee.com/hiasia/hiasia.git'
- git push -f origin master
artifacts:
- name: BUILD_ARTIFACT
path:
- ./public
caches:
- ~/.npm
- ~/.yarn
notify: []
strategy:
retry: '0'
5.开通GitHub Page
- 进入源码仓库,选择 服务-> gitee pages,新用户需要先实名认证

- 手动更新Pages服务

- 此时就可通过域名访问到你的博客内容了
6.进阶-MacOS快捷指令提交
- 编辑快捷指令

以下是我的shell脚本,将其中的,你的文件夹路径,你的笔记仓库地址.修改为你自己的信息1
2
3
4
5
6
7
8
9
10
11
12
13
14
15
16
17
18
19
20
21
22
23
24!/bin/bash
切换到本地文件夹路径
cd 你的文件夹路径 例如:xxx/xxx/blog
检查是否有未提交的更改
if [ -z "$(git status --porcelain)" ]; then
echo "No changes to commit."
exit 0
fi
添加所有变更文件到暂存区
git add --all
git status
提交变更
current_date=$(date +'%Y-%m-%d %H:%M:%S')
commit_message="Auto commit at $current_date"
git commit -m "$commit_message"
推送到远程仓库
git push 你的笔记仓库地址
echo "Changes committed and pushed successfully."
本博客所有文章除特别声明外,均采用 CC BY-NC-SA 4.0 许可协议。转载请注明来自 HiAsia的小站!
评论